

Key Takeaways: Harnessing Solar Power Off-Grid
- Zamp Solar Kits provide a sustainable and reliable off-grid power solution.
- Choosing the right location for your solar panels is crucial for maximum efficiency.
- Installation involves mounting the panels, wiring, and connecting to a charge controller and batteries.
- Regular maintenance will ensure your solar system continues to operate at peak performance.
- Expansion of your solar setup is possible by adding more panels and batteries.
Gear Up: Collecting Your Zamp Solar Kit Components
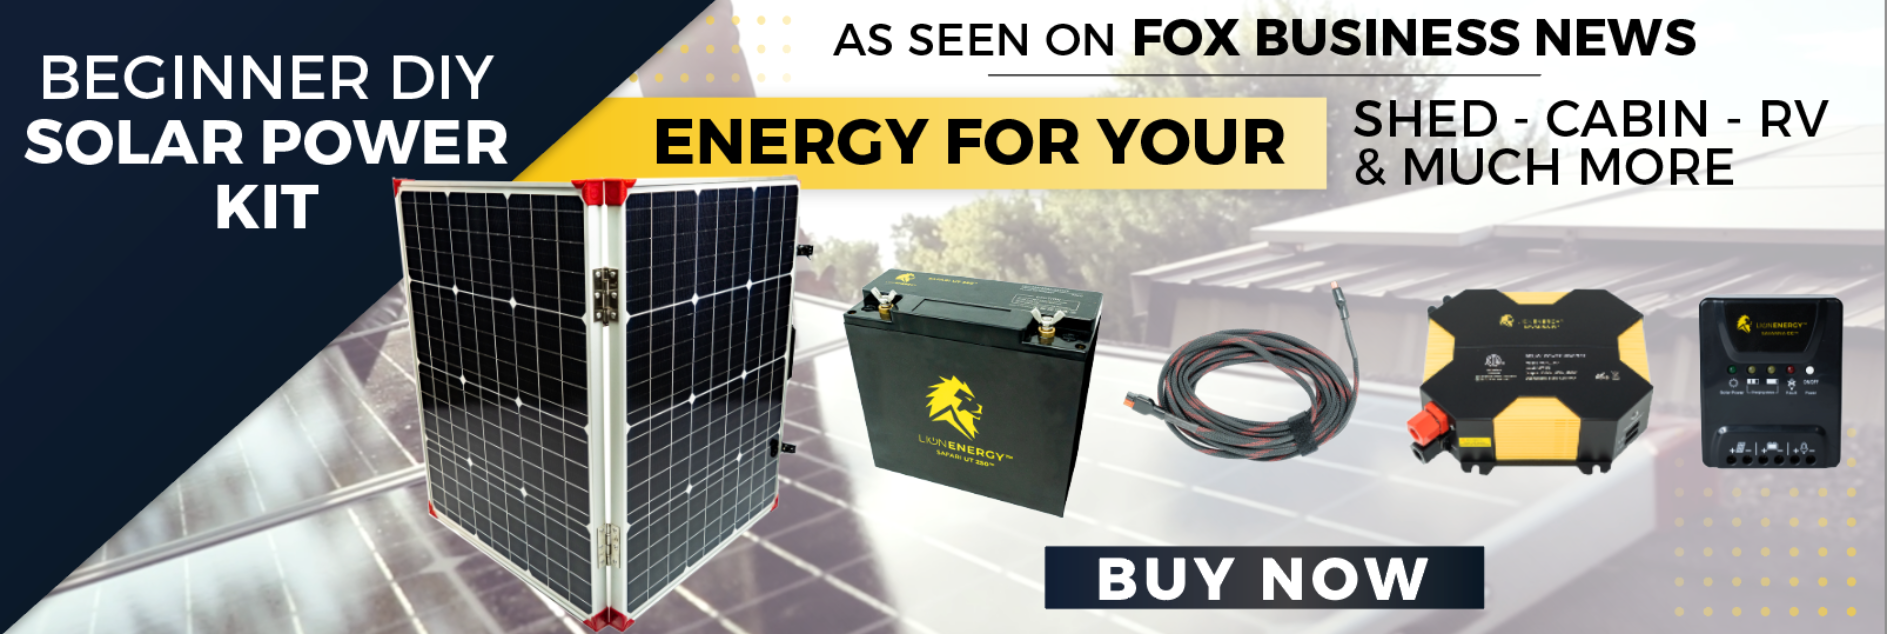
When you’re ready to embrace the freedom of off-grid living, a Zamp Solar Kit is your ally in the journey towards energy independence. These kits come packed with all you need to start harvesting the sun’s power, but before you start, let’s make sure you’ve got all the right gear.
Key Components and Their Functions
Your Zamp Solar Kit will typically include solar panels, mounting hardware, a charge controller, wiring, and connectors. Each part plays a vital role:
- Solar Panels: These are the heart of your system, capturing sunlight and converting it into electricity.
- Mounting Hardware: Used to securely attach your panels to the roof or ground.
- Charge Controller: This device regulates the power going into the batteries, preventing overcharging.
- Wiring and Connectors: Essential for connecting all the components and ensuring electricity flows safely.
Personal Safety Equipment
Before you begin the installation, safety comes first. Make sure you have protective gloves to prevent cuts and abrasions, safety glasses to shield your eyes, and perhaps a hard hat if you’re working under conditions where debris might fall. Remember, safety isn’t a luxury; it’s a necessity.
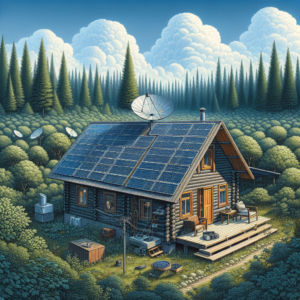
Site Selection: Picking the Perfect Spot

Now, let’s talk location. The right spot for your Zamp Solar Panels can make a world of difference in their performance. You want a location that gets maximum sunlight throughout the day, free from shade and obstructions.
Look around your property or the roof of your RV. Do you see any tall trees or structures that could cast shadows? Those are your enemies in the solar world. Keep clear of them.
And don’t forget, the sun’s path changes with the seasons. A spot that’s sunny in the summer might be shaded in the winter. Plan accordingly.
Example: John and Jane Doe selected the south-facing slope of their property, which had clear, unobstructed access to sunlight. They avoided the area near the oak tree, which, despite providing lovely shade, wasn’t ideal for solar efficiency.
Maximizing Sun Exposure
To get the most out of your solar panels, they need to be friends with the sun. This means angling them in a way that catches the most rays. In the Northern Hemisphere, solar panels should face true south, and in the Southern Hemisphere, they should face true north. And the angle? It varies depending on your latitude, but there are plenty of resources online to help you find the sweet spot.
Optimizing the Angle for Efficiency
Because the angle can directly impact the amount of energy your panels produce, it’s important to get it right. An adjustable mount can be a game-changer here, allowing you to tweak the angle as the seasons change. This adaptability ensures that your panels are always positioned for optimal sunlight absorption.
Most importantly, remember that solar energy isn’t just about placing panels on your roof. It’s about making sure those panels work as efficiently as possible. A little extra time spent on getting the angle right can lead to significant gains in power output.
- Consult a solar angle calculator to find the ideal tilt based on your location.
- Consider the use of an adjustable mount for seasonal angle changes.
- Check the angle periodically, especially at the change of seasons, to ensure continued efficiency.
And don’t worry if you can’t achieve the perfect angle due to physical limitations or safety concerns. Solar panels are forgiving and will still produce energy, even if the setup isn’t perfect.

: Safe and Efficient Electrical Connections
With your panels securely in place, it’s time to focus on the wiring. This is where your system comes to life, channeling the sun’s energy into usable power. Proper wiring ensures that this energy is transferred safely and efficiently to where it’s needed.
Connecting Panels to the Charge Controller
The charge controller is the guardian of your solar system. It manages the flow of electricity to the batteries, protecting them from overcharging. When wiring your panels to the charge controller, make sure to follow the manufacturer’s instructions closely. Incorrect wiring can lead to poor system performance or even damage.
- Ensure the polarity is correct – positive to positive, negative to negative.
- Use proper gauge wires to handle the expected current.
- Secure all connections to prevent loosening over time.
By paying attention to these details, you’re not just assembling a system; you’re building the backbone of your off-grid power supply.
Proper Battery Integration
Next up are the batteries, the reservoirs of your solar system. They store the energy your panels collect, making it available on demand, day or night. Connecting your batteries properly is critical for storing the maximum amount of power and for the safety of your system.
When integrating batteries:
- Use batteries of the same type, age, and capacity to ensure balanced charging and discharging.
- Connect batteries in series or parallel based on your voltage and capacity requirements.
- Ensure all connections are tight and corrosion-free.
Remember, your solar system’s reliability is only as good as its weakest link. Make sure your batteries are up to the task.
Flip the Switch: Activating Your Zamp Solar System
Now comes the moment of truth – it’s time to activate your Zamp Solar System. Before you flip that switch, take a moment to double-check all your connections. Ensure that everything is secure and correctly wired. It’s better to catch a mistake now than to troubleshoot later.
Initial Testing for Functionality
With a careful eye, turn on your charge controller and watch as the indicators come to life. This is a good sign that power is flowing from your panels to the controller. Check the readouts to confirm that the voltage and current levels are within expected ranges.
It’s a simple but powerful moment – your off-grid solar system is now harnessing the energy of the sun!
Monitoring and Adjusting for Optimal Performance
But your job isn’t done yet. To get the most out of your system, you’ll need to monitor its performance. Keep an eye on the power output throughout the day and across different weather conditions. You might find that small adjustments to the angle or position of your panels can lead to improvements.
Also, be mindful of your energy consumption. Understanding how much power you’re using versus how much you’re generating will help you manage your resources effectively.
Maintenance Moves: Keeping Your System at Peak Performance
Like any well-oiled machine, your Zamp Solar System requires regular maintenance to perform its best. Thankfully, solar panels are relatively low maintenance, but they do need some attention to ensure they continue to operate efficiently.
Cleaning your panels is essential; dust, leaves, and bird droppings can block sunlight and reduce performance. A simple wash with water and a soft brush can do wonders. Just be gentle to avoid scratching the surface.
- Inspect your panels regularly for any signs of damage or wear.
- Clean the panels with water and a non-abrasive brush to remove debris.
- Check all electrical connections for signs of corrosion or damage.
With these simple maintenance steps, you’ll keep your system running smoothly for years to come.
Troubleshooting Common Issues
Sometimes, even the best-laid plans encounter hiccups. If your system isn’t performing as expected, don’t worry; most issues have straightforward solutions. Here are a few common ones:
- If the panels aren’t generating power, check for obstructions or dirt on the panels.
- Ensure all connections are secure and the charge controller is functioning properly.
- Check the battery health; if they’re old or damaged, they might need replacing.
Remember, a little bit of troubleshooting can save you a lot of time and money in the long run.
Expand Your Energy: Scaling Up Your Solar Setup
Once you’ve got the hang of your new Zamp Solar System, you might find that you’re ready for more. Expanding your system to generate more power or store more energy is a great way to increase your off-grid capabilities.
Adding More Panels and Storage Capacity
If you’re looking to expand, the first step is to assess your current energy needs and future goals. Then, you can add more panels to your existing setup. Remember, you’ll need to ensure your charge controller can handle the increased input. As for storage, consider upgrading to batteries with higher capacity or adding more batteries to your bank.
- Assess your energy usage and plan your expansion accordingly.
- Make sure your charge controller can handle the additional panels.
- Upgrade to higher-capacity batteries or add additional batteries for more storage.
Considering Redundancies for Reliability
Besides that, think about building redundancies into your system. Having backup components, such as an extra charge controller or additional batteries, can prevent downtime and ensure you always have power when you need it.
Redundancies might seem like an extra cost, but they offer peace of mind, especially when living off-grid. You never know when a component might fail, and being prepared can make all the difference.
FAQ: Your Questions Answered
Now, let’s address some common questions you might have:
Q: How often should I clean my solar panels? A: It’s generally recommended to clean your panels every six months, but this can vary depending on your environment. If you live in a dusty area or have lots of birds around, you might need to clean them more often.
Q: Can I install Zamp Solar Panels on any type of roof? A: Zamp Solar Panels can be installed on most roof types, but it’s important to use the correct mounting system for your specific roof material.
Q: What’s the lifespan of a Zamp Solar Panel? A: Zamp Solar Panels are built to last and typically come with a 25-year power output warranty, so you can expect them to serve you well for many years.
In conclusion, installing a Zamp Solar Kit for off-grid living is a rewarding project that can provide you with energy independence and sustainability. By following this guide, you’ll be well on your way to enjoying the benefits of solar power. With the right preparation, installation, and maintenance, your solar system will be a reliable source of power for years to come. Embrace the sun, and let your Zamp Solar System illuminate the path to off-grid freedom.